How to create a blog on Blogger?
Step 1: Log in to Blogger
Sign in with your Gmail id and password at http://www.blogger.com/home. If you don’t have a Google account, you can create one for free then come back to the Blogger homepage. As long as Google owns Blogger, you’ll need a Gmail account to blog on the platform.
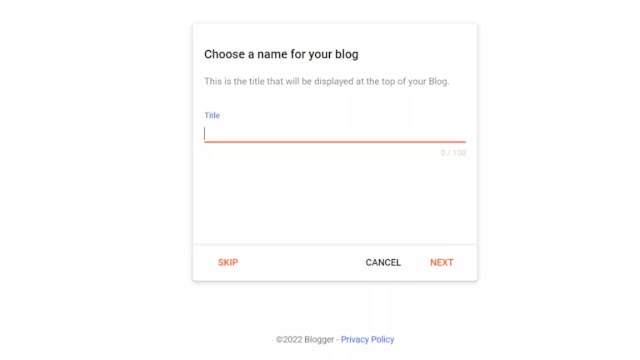
Step 2: Choose a name for your blog
Step 3: Choose a URL for your blog
The domain name must be unique, so there’s a chance that the one you want is already taken. In that case, you’ll need to try a different domain name until it says This blog address is available.
Step 4: Confirm your display name
You can use a keyword in the display name, to help your blog rank higher. Click Finish, and you’re ready to start blogging!
Step 5: 1st of all visit your Blogger Dashboard.
Enter your new blog’s address in your browser’s address bar, and you’ll see what your blogger website looks like. You may not like the appearance at first, but we’ll show you how to change its design to make it look good and professional.Step 6: visit Themes, then scroll down and choose a straightforward Theme guide ( Edit/ Arrow ),
Step 7: Then click on the down arrow choose Mobile Setting then select "Desktop" and click on Save.
How to change a theme on Blogger?
- Go to Theme from the left-hand menu.
- Scroll down to find the theme you want from the many options available.
- There are a lot of Blogspot themes to choose from, but we recommend using Simple , Travel, Picture Window or Water Mark. You can preview the theme before applying it.
Privacy settings
- Go to Settings;
- Scroll down to the Privacy section;
- Ensure that visible to search engines is enabled.
- How to create new pages for your blog
- You can create pages for static content, such as “About” or “Contact” in Blogger. They can be displayed as tabs at the top of your blog or as sidebar links.
- If you create a "About" and " Contact" Page my online tool help you to create pages chick here.
The first step is to display your pages.
Log in to your Blogger account;
- Choose your blog from the drop-down menu on the top left;
- Select Layout from the left-hand menu;
- Click Add a Gadget in the section where you want your pages to appear;
- Click Add next to Pages in the window;
- Set up your page and then click Save;
- Click Save Save in the bottom-right corner to save the arrangement.
TIP: Drag the gadget to a new location to change where your page appears.
Traffic stats for your website
Going to Stats » Overview, you can see the status of your website’s traffic in real-time. It would display the traffic sources, audiences, and a variety of other information. You can see which posts/articles/pages are receiving the most traffic and for which keywords.
For blog post :-
1. Just Copy This Same Code.
2. Select New Post.
3. Place a Title.
4. Select Html View.
5 . Pest This Code Here.
6. Select Your Label Name.
7. Customize Permalink - Select Custom And Place Title. Ok.
8. Place Heading In Search Description.
9 . Publish Now.


